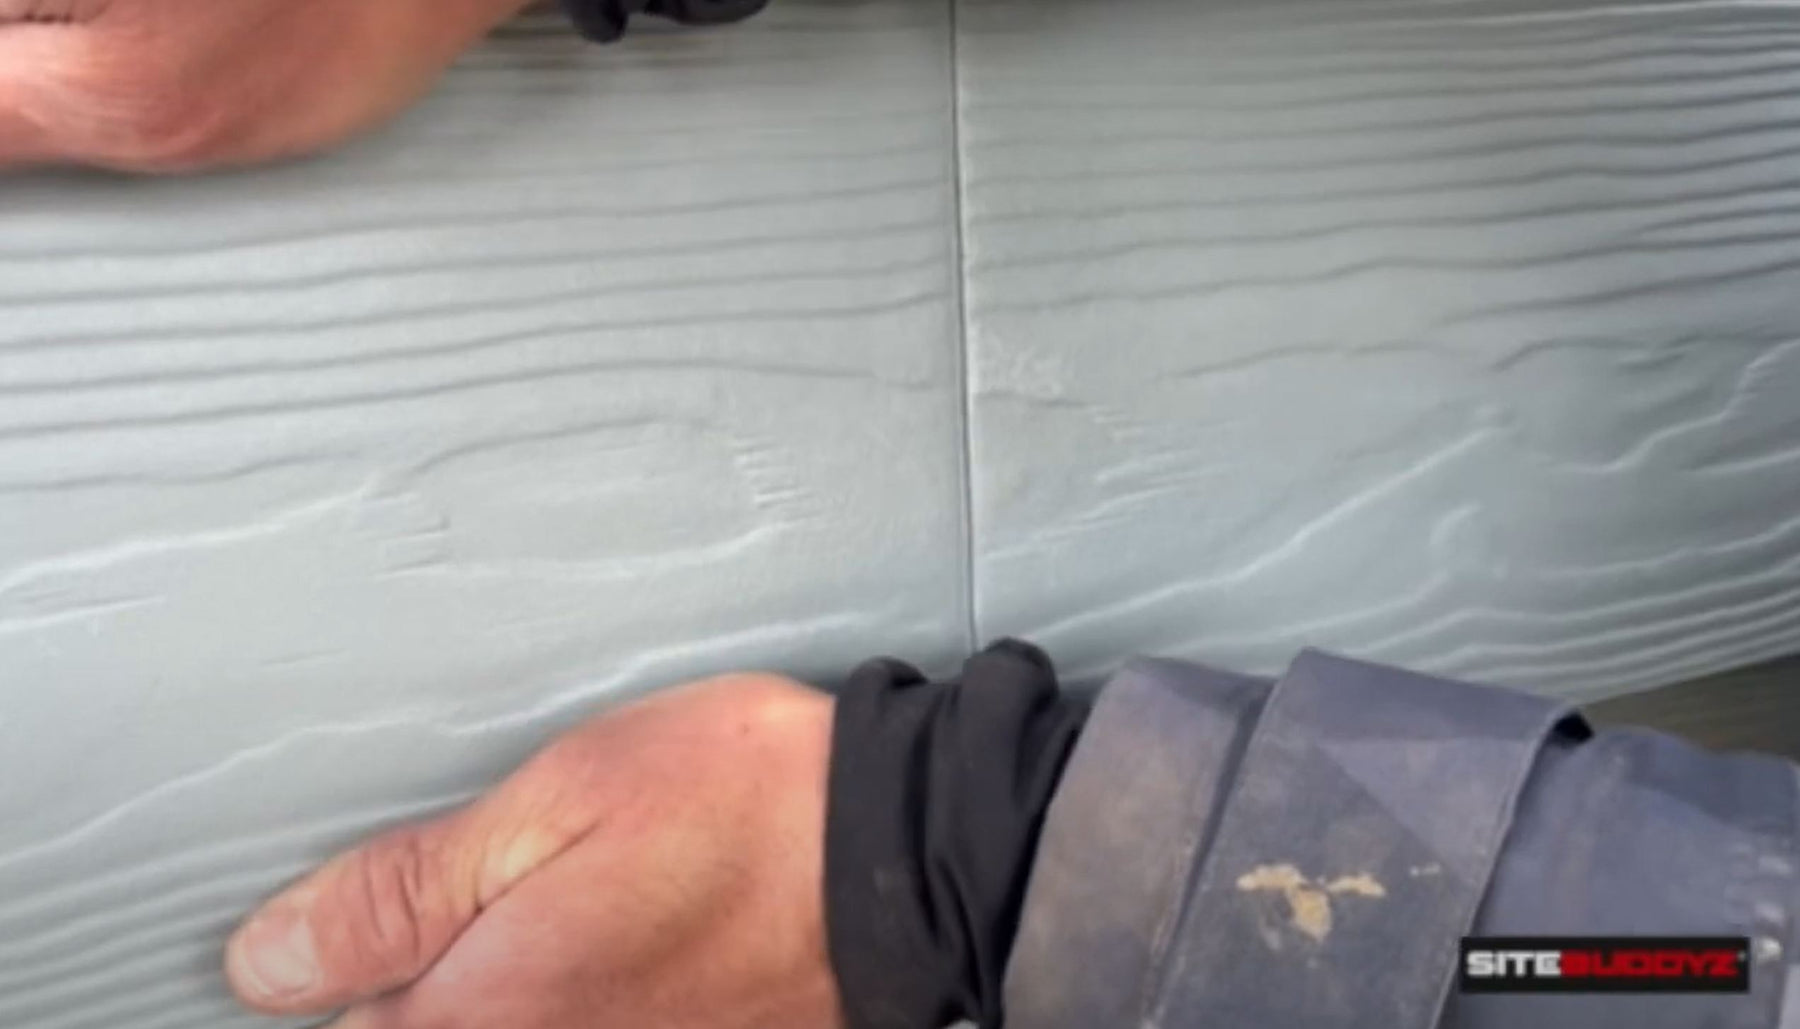
How to match board grain patterns to get a superior finish
Manufacturers of fibre cement cladding and siding have gone to great lengths to create boards that are not just highly durable and weather resistant, but beautiful to look at too.
Most include a ‘wood grain’ effect that gives the board a pleasing natural finish.
But far too often I see very little attention paid to matching the artificial grain of different boards when they are joined together to create one longer section.
Maybe it’s just the perfectionist in me, but I get really irritated when I see joined boards where this has happened and the overall look is tarnished.
My advice is to think carefully as you plan your board arrangement and keep looking at the grain pattern every time you join a board.
A common mistake is to fit boards upside down. Yes - boards do have a top and a bottom that is slightly different! The top of most boards has a grain pattern that is slightly tighter, whilst the bottom is usually a little more spaced out.
In reality, you can decide which pattern you allocate as the top and which as the bottom, but the key is to then stay consistent as you fix the boards. It’s just I feel the tighter grain looks better on top.

If you’re working with off-cuts, where you’ve cut down through the middle of a board, there’s another consideration. As well as making sure you have the board the right way up, try and also ensure that you cut the board where the grain pattern is similar to the end of the next board you’re joining it to. It’s a bit like matching two pieces of wallpaper with a repeating pattern.
In this film you can see how we paid close attention to matching the grain pattern of different boards when joining them.
We used we used the Sitebuddyz Flush-Joints kit and CladBlades to create a tidy join, then used the Sitebuddyz Drill-CSK COMBO to drill perfect fixing holes with no split ends. We fixed the boards with a single top screw into the batons that gave us a lovely overlapping effect.
